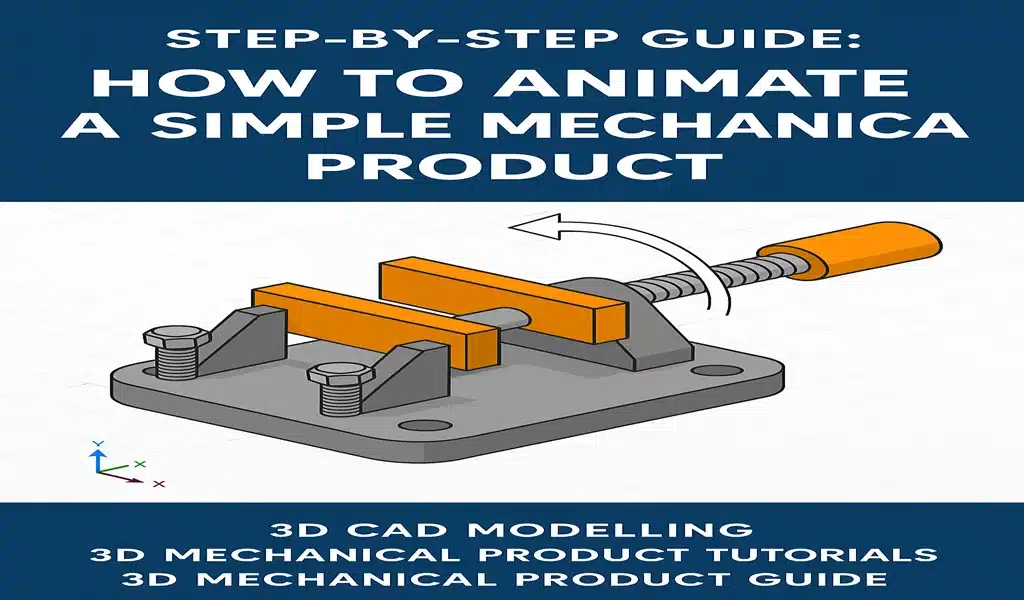
Bringing a mechanical design to life is one of the most powerful ways to communicate how it works. That’s where 3D mechanical product animation comes in. Whether you’re showcasing a gear system, piston movement, or product assembly, animation gives your static CAD models dynamic expression.
In this blog, we provide a step-by-step guide for beginners on how to animate a simple mechanical product using 3D CAD Modelling tools. Perfect for engineers, product designers, and students, this 3D Mechanical Product Guide covers the essentials of turning your model into a compelling visual story.
Why Animate Mechanical Products?
Before jumping into the steps, let’s understand the benefits of 3D mechanical product animation:
- Demonstrates product function without physical prototypes
- Improves communication between design teams and clients
- Enhances presentations, sales pitches, and instructional materials
- Reduces errors by visualizing motion, fit, and assembly early
Animations are especially useful in industries like manufacturing, automotive, consumer electronics, and machinery.
Tools You’ll Need
To follow this 3D Mechanical Product Tutorial, you’ll need:
- A 3D CAD software (e.g., Fusion 360, SolidWorks, Autodesk Inventor, Blender)
- A simple mechanical product model (e.g., clamp, gear system, hinge)
- Basic knowledge of 3D CAD Modelling
Step-by-Step Guide to Animating a Simple Mechanical Product
Step 1: Create or Import the 3D Model
Start with a clean and complete 3D CAD model of the product. If you’ve already modelled it yourself, ensure all components are separated (as parts) in an assembly environment.
Step 2: Assign Motion Joints or Constraints
In your CAD software, move to the assembly workspace. Define how each component should move:
- Use revolute joints for rotating parts (like wheels or gears)
- Use slider joints for parts that move linearly (like pistons)
- Use rigid joints to lock parts together
These joints replicate real mechanical behavior and are the foundation of realistic motion.
Step 3: Set Up the Animation Timeline
Open the animation timeline or motion study panel (the name depends on the software). Here, you can add keyframes—snapshots that define object position at a specific time.
- Set your timeline to a comfortable length (10-20 seconds is good for a demo)
- Define your first keyframe at time 0
- Move to a later time (e.g., 5s or 10s) and move the component to a new position
The software will automatically animate the transition between the two positions.
Step 4: Add More Movements
Repeat the keyframe process to animate other parts. For example:
- Rotate gears
- Slide a piston
- Open and close a hinge
Make sure the timing is smooth and mimics real-world mechanical motion.
Step 5: Fine-Tune the Animation
Use the timeline controls to adjust:
- Speed: Slow down or speed up specific movements
- Delay: Add a pause between movements for clarity
- Sequence: Make parts move in the correct logical order
Use preview mode to test how your animation looks and feels.
Step 6: Add Camera Angles (Optional)
To make your animation more engaging, add camera transitions or rotate the view over time. Most CAD tools allow you to animate the camera for walkthroughs or zoom effects.
Step 7: Export the Animation
Once your animation is complete:
- Export it as a video file (MP4, AVI) or animated GIF
- Choose the resolution and frame rate
- Save it for use in presentations, websites, or training material
Common Use Cases for Beginners
- Showing how parts assemble and disassemble
- Animating gear rotation or cam motion
- Simulating a press or clamp mechanism
- Creating tutorials or promotional demos
These are great starting points to apply your knowledge from this 3D Mechanical Product Guide.
Conclusion
Learning how to animate a mechanical product is a valuable skill that blends design, engineering, and storytelling. This step-by-step 3D Mechanical Product Tutorial has shown that with the right tools and guidance, even beginners can create powerful animations that demonstrate real-world function.
Mastering 3D CAD Modelling is just the beginning—animation takes your mechanical design to the next level. Start with something simple, keep experimenting, and soon you’ll be creating animations that make an impact.
Absolutely. These animations are perfect for explaining how your product works visually without technical jargon.
Do I need to know advanced CAD skills to create animations?
No. If you know basic 3D CAD Modelling and assembly, you can create simple animations with guided tutorials.
Which software is best for beginners in 3D mechanical product animation?
Fusion 360 and SolidWorks are excellent choices. Fusion 360 has a user-friendly timeline, while SolidWorks offers detailed motion studies.
Can I animate moving parts even if they are imported from another CAD program?
Yes, as long as the imported files contain separated parts and can be joined with motion constraints.
How long does it take to create a simple mechanical animation?
For a basic product with 2–3 moving parts, it can take 30 minutes to 2 hours depending on complexity and software familiarity.
Can I use these animations in marketing or training videos?
Absolutely. These animations are perfect for explaining how your product works visually without technical jargon.
