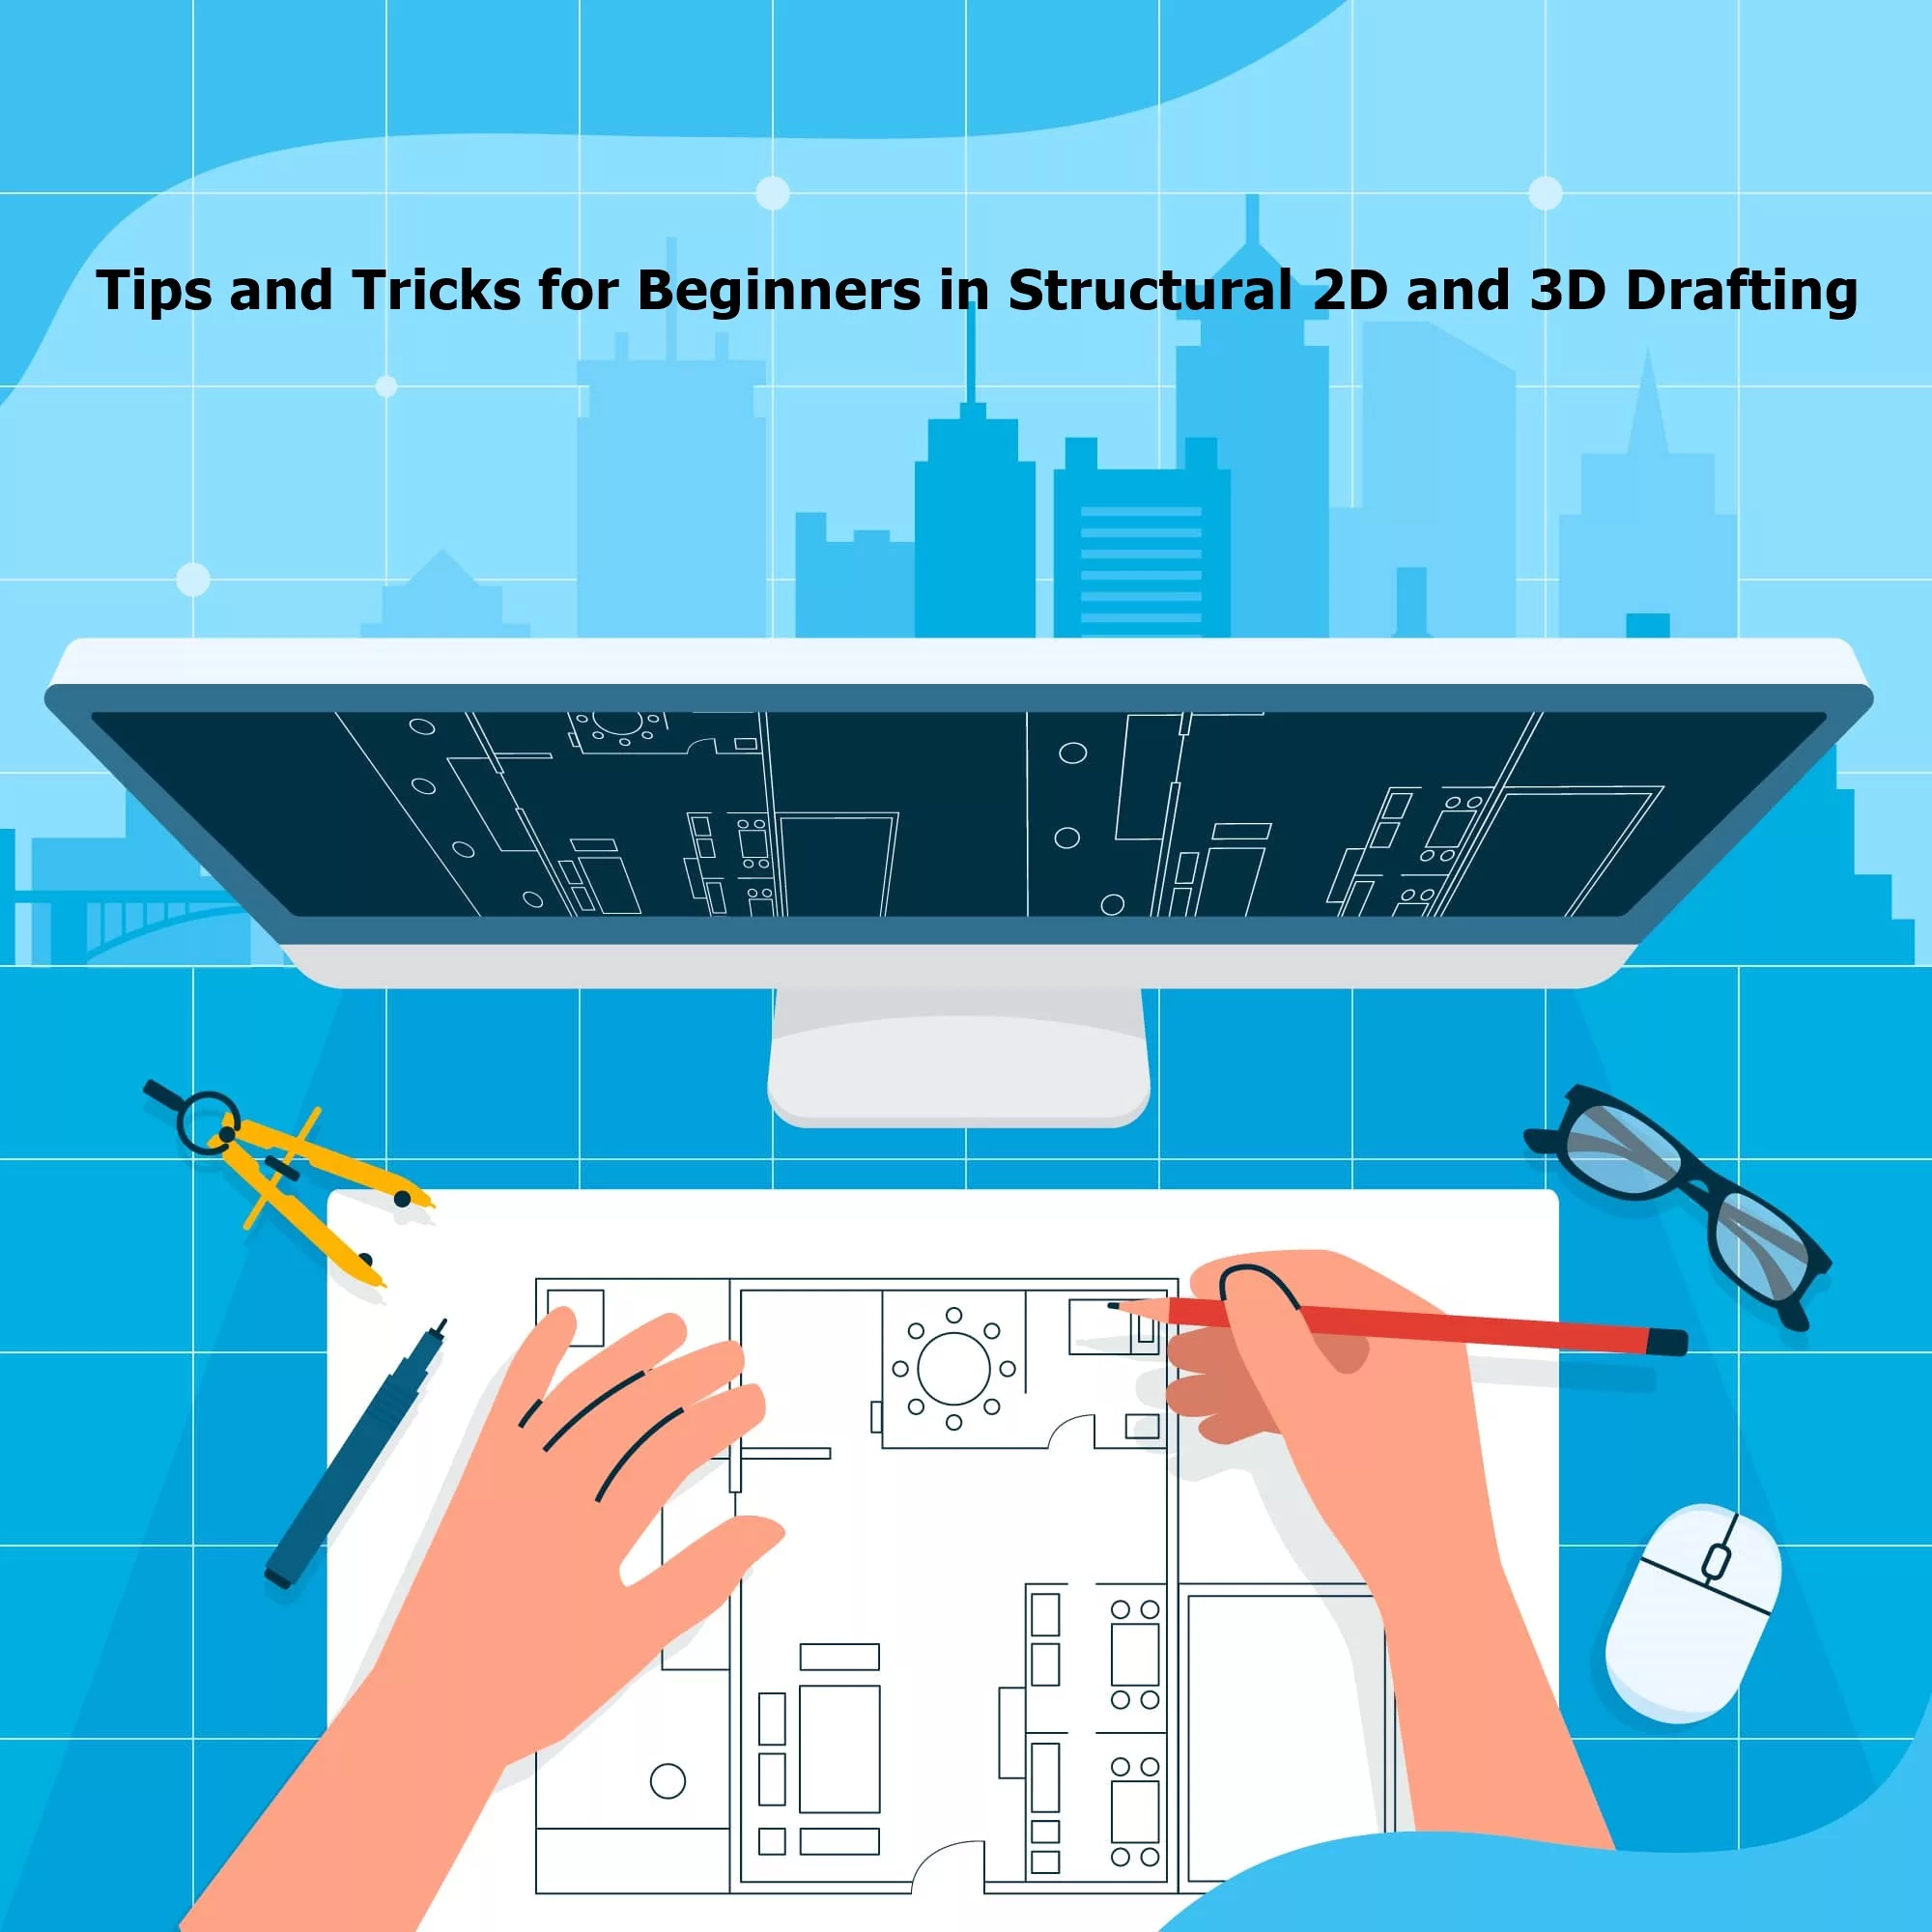
Structural 2D and 3D drafting are essential components of the engineering and construction industries. These techniques allow for the precise visualization, planning, and execution of various structural projects. For beginners venturing into this field, understanding the fundamentals and mastering essential tips and tricks can significantly enhance your efficiency and accuracy. Here’s a comprehensive guide to help you get started.
Understanding the Basics
Before diving into tips and tricks, it’s crucial to grasp the basics of structural 2D and 3D drafting.
- Structural 2D Drafting: This involves creating flat representations of structures, such as floor plans, elevations, and sections. It’s essential for detailing and documenting construction projects.
- Structural 3D Drafting: This technique provides a three-dimensional representation of structures, allowing for better visualization and analysis. It’s particularly useful for complex projects and steel structure drawings.
Essential Tips for Structural 2D Drafting
1. Master the Tools
- Familiarize with CAD Software: Get comfortable with popular CAD software like AutoCAD, Revit, or MicroStation. Understanding the interface, commands, and shortcuts can save time and reduce errors.
- Use Layers Effectively: Organize your drawings by using layers for different elements (e.g., walls, beams, annotations). This makes editing easier and enhances clarity.
2. Precision and Accuracy
- Snap and Grid Settings: Utilize snap and grid settings to ensure precise placement of elements. This is crucial for maintaining accuracy in your drawings.
- Dimensioning: Always double-check dimensions and annotations. Accurate dimensioning is vital for shop drawings and ensuring that the design can be built correctly.
3. Standardization
- Adopt Industry Standards: Follow industry standards and best practices for drafting. This ensures consistency and makes your drawings easily understandable by other professionals.
- Templates and Blocks: Create or use standard templates and blocks for repetitive elements. This not only saves time but also maintains consistency across your drawings.
Essential Tips for Structural 3D Drafting
1. Start with a Solid Foundation
- Understand the Project Requirements: Before starting any 3D model, thoroughly understand the project requirements and specifications. This helps in creating accurate and relevant models.
- Plan Your Model: Break down the project into manageable parts and plan your modeling approach. This prevents confusion and ensures a systematic workflow.
2. Leverage Technology
- Use BIM Software: Building Information Modeling (BIM) software like Revit or Tekla Structures is invaluable for 3D drafting. These tools enhance collaboration and provide detailed information about the structural components.
- Automation Tools: Utilize automation tools and scripts to streamline repetitive tasks. This can significantly boost productivity and reduce manual errors.
3. Visualization and Analysis
- Rendering: Use rendering tools to create realistic visualizations of your models. This helps in identifying potential issues and presenting the design to stakeholders.
- Clash Detection: Conduct clash detection to identify and resolve conflicts between different structural elements. This is especially important for steel structure drawings to ensure seamless integration.
Tips for Both 2D and 3D Drafting
1. Continuous Learning
- Stay Updated: The field of structural drafting is constantly evolving with new technologies and practices. Stay updated through online courses, webinars, and industry publications.
- Learn from Others: Join professional forums and communities. Engaging with other professionals can provide valuable insights and tips.
2. Attention to Detail
- Review and Revise: Always review your work for errors and inconsistencies. Regular revisions ensure that your drawings are accurate and up to date.
- Document Everything: Maintain detailed documentation of your work processes and decisions. This is helpful for future reference and ensures transparency.
3. Collaboration and Communication
- Work with Teams: Structural drafting often involves collaboration with other engineers, architects, and contractors. Effective communication and teamwork are crucial for successful project execution.
- Use Collaboration Tools: Utilize collaboration tools like BIM 360 or Navisworks to share and manage your models. These tools facilitate real-time collaboration and project management.
Conclusion
Structural 2D and 3D drafting are critical skills for any aspiring engineer or draftsman. By mastering the tools, adhering to industry standards, and continuously learning, you can enhance your drafting skills and contribute effectively to any structural project. Whether you’re working on shop drawings or steel structure drawings, these tips and tricks will help you achieve precision and efficiency in your work. Embrace the technology, stay detail-oriented, and always be open to learning and collaboration.
By following these guidelines, beginners can build a strong foundation in structural drafting and set themselves up for a successful career in this dynamic field.
What is 2D vs 3D drawings in construction?
In construction, 2D and 3D drawings serve distinct but complementary purposes, each contributing to different stages of the project lifecycle. Understanding the differences between these types of drawings is essential for effective planning, design, and execution of construction projects.
2D Drawings
Definition: 2D drawings are flat, two-dimensional representations of a structure. They provide detailed views and specifications of the various components of a building or construction project.
Types of 2D Drawings:
Plans: Horizontal views of a structure, typically showing the layout of a floor or site.
Elevations: Vertical views of the exterior or interior faces of a structure.
Sections: Cutaway views that show internal details along a specific plane.
Details: Enlarged views of specific parts of the design, providing intricate details about construction elements.
Purpose:
Documentation: Provides precise measurements, dimensions, and notes necessary for construction.
Communication: Serves as a common language among architects, engineers, contractors, and other stakeholders.
Regulation Compliance: Ensures that the design meets local building codes and regulations.
Advantages:
Simplicity: Easier to create and interpret for basic designs and straightforward projects.
Standardization: Widely used and understood in the industry with standardized symbols and notations.
3D Drawings
Definition: 3D drawings are three-dimensional representations of a structure, providing a more realistic and comprehensive view of the project. They are often created using Building Information Modeling (BIM) software.
Types of 3D Drawings:
Models: Full three-dimensional representations of the entire structure.
Renderings: Photorealistic images of the model, often used for presentations and visualizations.
Walkthroughs: Animated sequences that simulate walking through the structure, providing an immersive experience.
Purpose:
Visualization: Helps stakeholders understand the spatial relationships and aesthetics of the project.
Clash Detection: Identifies conflicts between different building systems (e.g., structural, mechanical, electrical) before construction begins.
Coordination: Facilitates collaboration among various disciplines by integrating all aspects of the design into a single model.
Advantages:
Enhanced Understanding: Provides a clear and detailed visualization, making it easier to understand complex designs.
Improved Accuracy: Reduces errors and omissions by allowing for comprehensive reviews and modifications.
Efficiency: Speeds up the design process by enabling simultaneous updates and real-time collaboration.
How to make 2D drawing from 3D?
Creating a 2D drawing from a 3D model is a common task in CAD software. Here’s a step-by-step guide to help you through the process:
Step-by-Step Guide
1. Prepare Your 3D Model
Ensure your 3D model is complete and error-free.
Check for any issues with geometry, such as holes or overlaps.
2. Open Your CAD Software
Use CAD software that supports both 3D modeling and 2D drawing, such as AutoCAD, SolidWorks, or Fusion 360.
3. Set Up Your Workspace
Open a new drawing file or start a new 2D drawing project within your CAD software.
4. Orient the 3D Model
Rotate and position your 3D model to the desired views (e.g., top, front, side, isometric).
You can create different views for different parts of your 2D drawing.
5. Create the 2D Views
Use the ‘Base View’ or ‘Standard View’ tool in your CAD software to generate 2D views from the 3D model.
Typically, you can select from standard views like top, front, right side, and isometric.